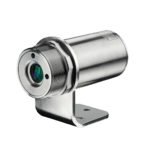
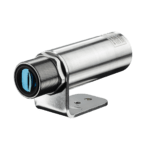
Bottom up GIS 640i / 450i G7
Optris Bottom up Glass Inspection System for Glass Tempering Plants

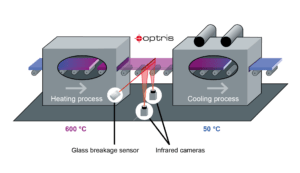
With the new glass inspection system from Optris, there is a new approach to temperature measurement in the production of low-e glass. Low emissivity glass poses a major challenge for infrared devices which are traditionally measuring the glass temperature from above when the panes moved out of the furnace during production.

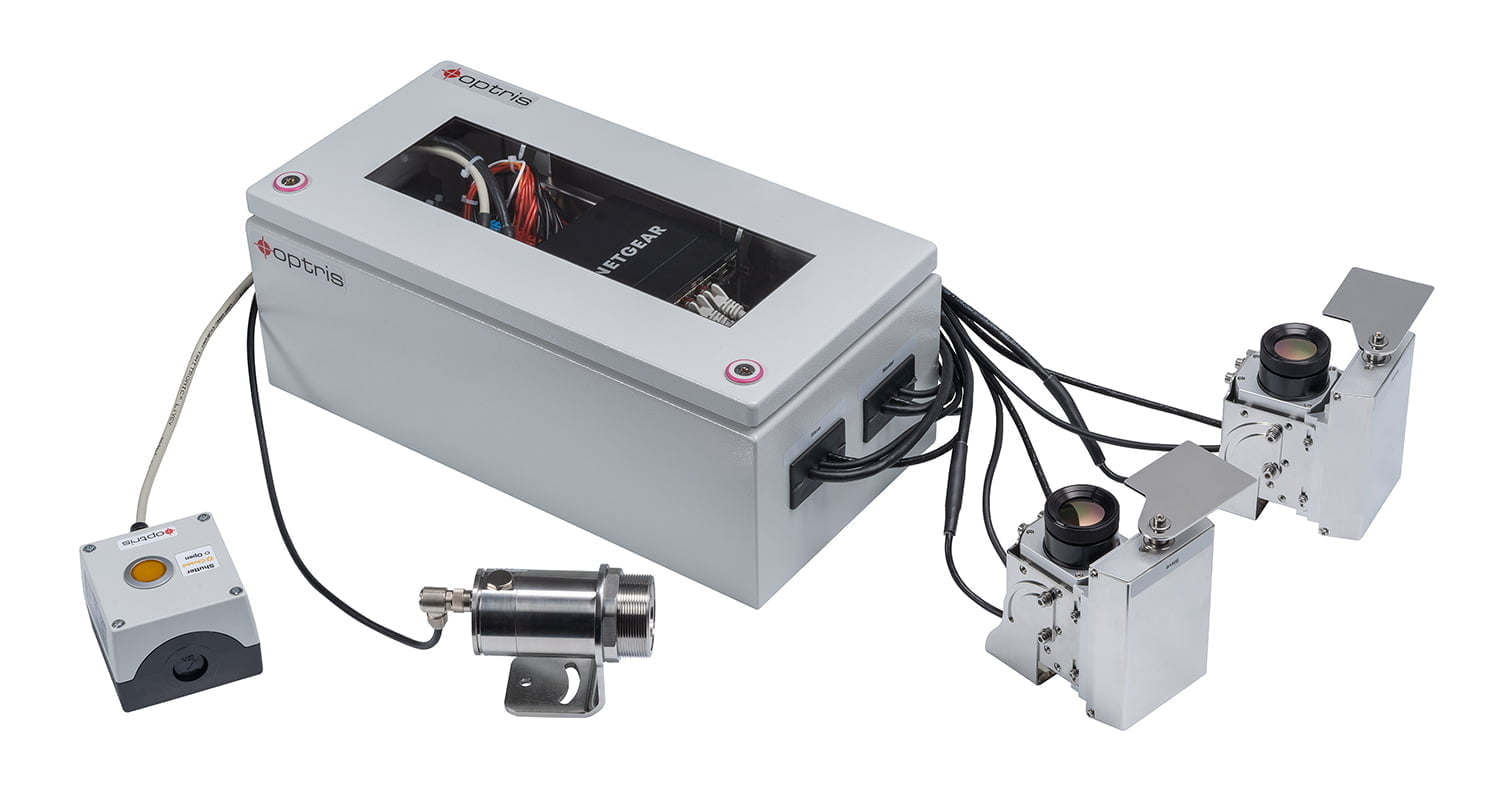
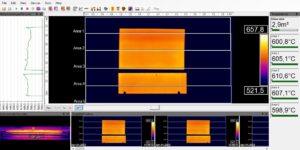
The new Bottom-up glass inspection system solves this problem by having two infrared imagers installed underneath the tempering line which measure the temperature on the non-coated high emissivity side of the glass.

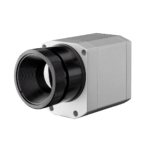
The combination of two VGA imagers with a maximum field of view of 111° results in an excellent 1600 pixels scan line resolution on maximum 4.3 m (14') scan width.

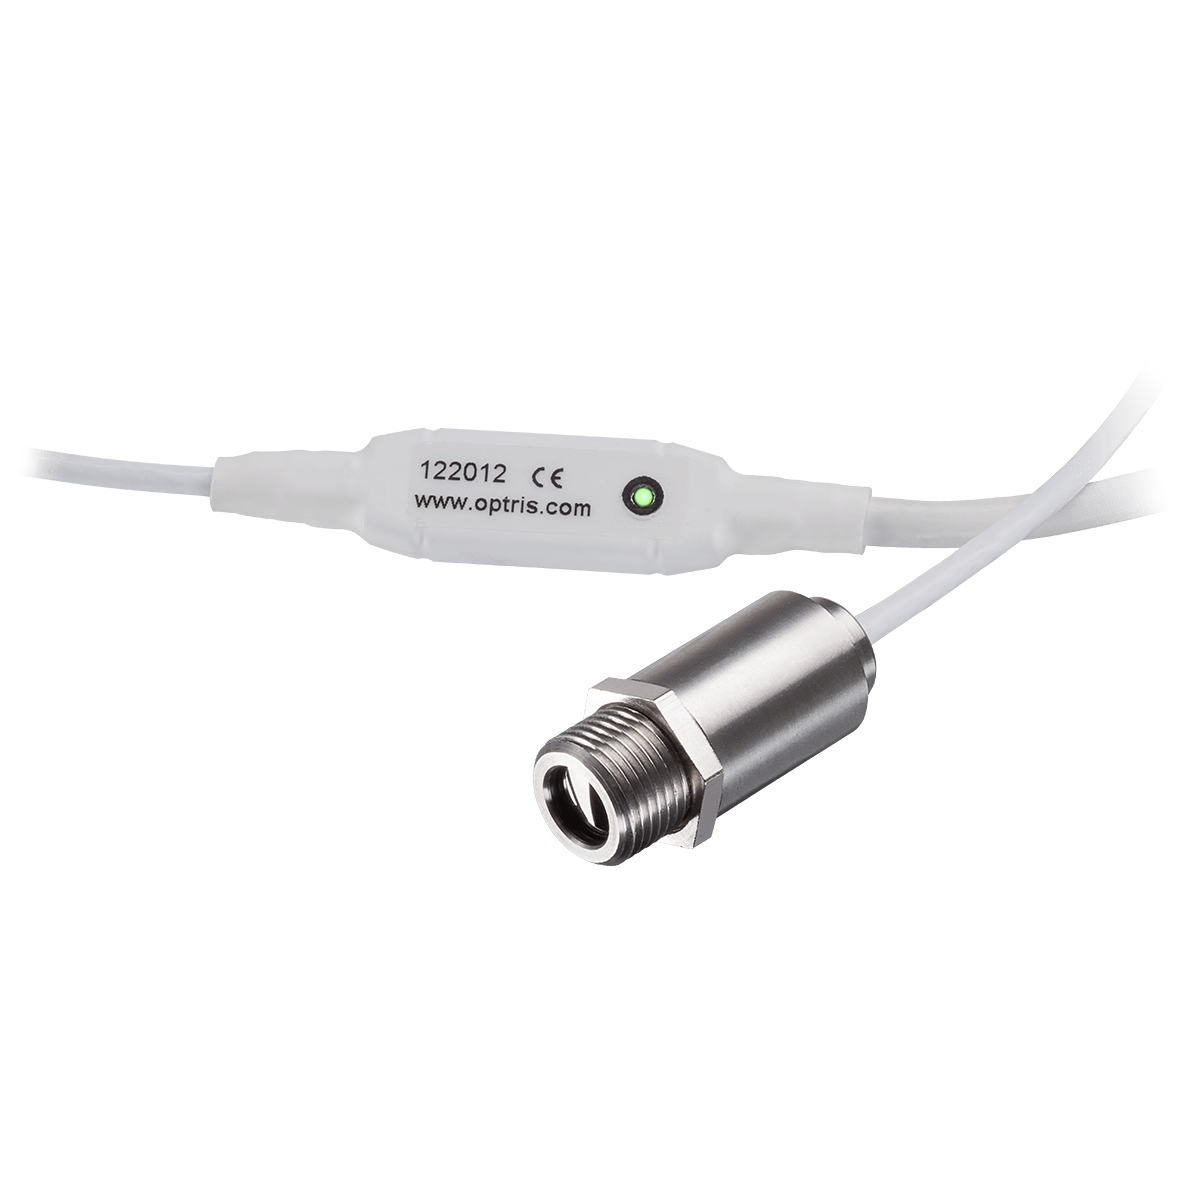
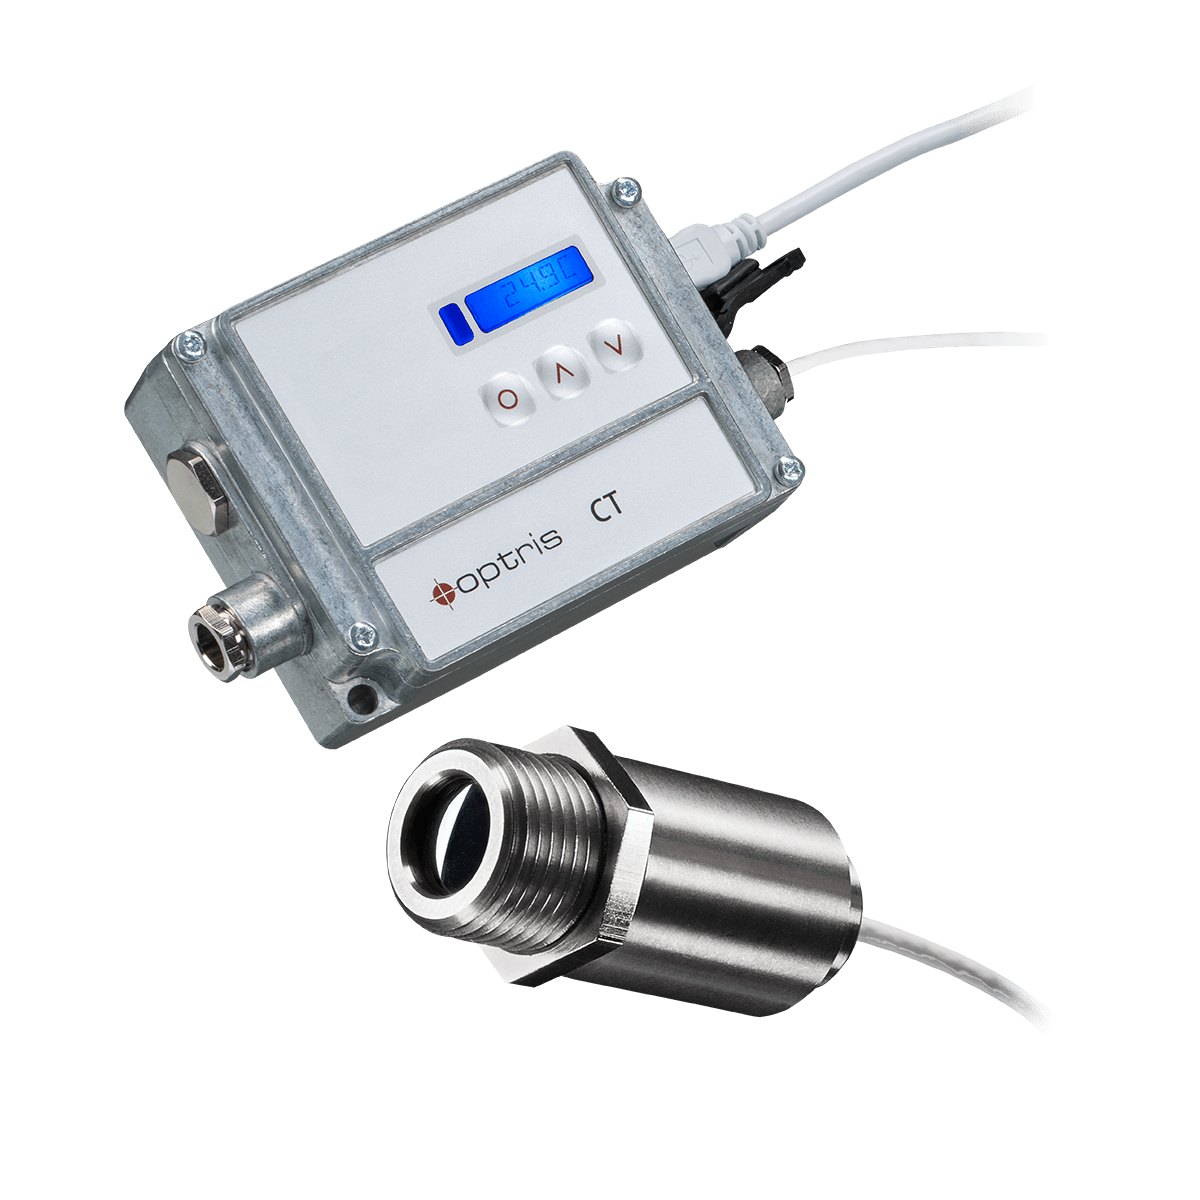
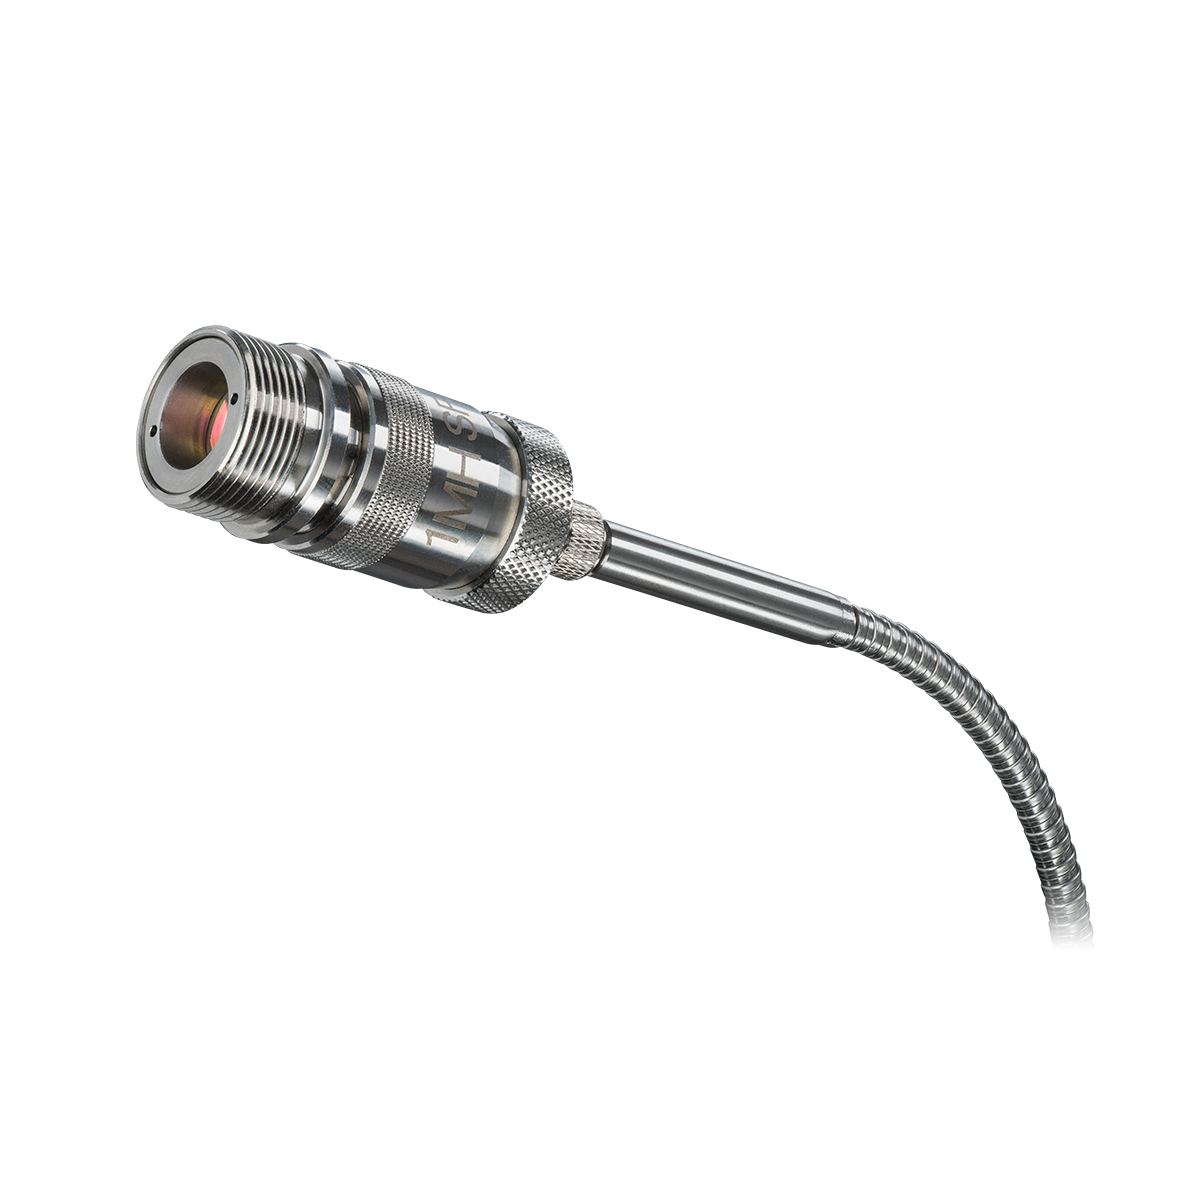
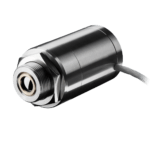
An ultra-fast CTlaser 4M pyrometer with 90 µs exposure time combined with the digitally controlled lens protection system (DCLP) is a reliable safeguard for both infrared cameras in case of glass breakage.

Important specifications

  • Compact bottom up system for coating independent underneath measurement
  • Integrated ultra-fast glass breakage detection combined with Digitally controlled lens protection system (DCLP)
  • Pre-assembled system for easy installation on glass tempering furnaces
  • Glass area calculation

From 14.750,00 

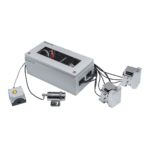
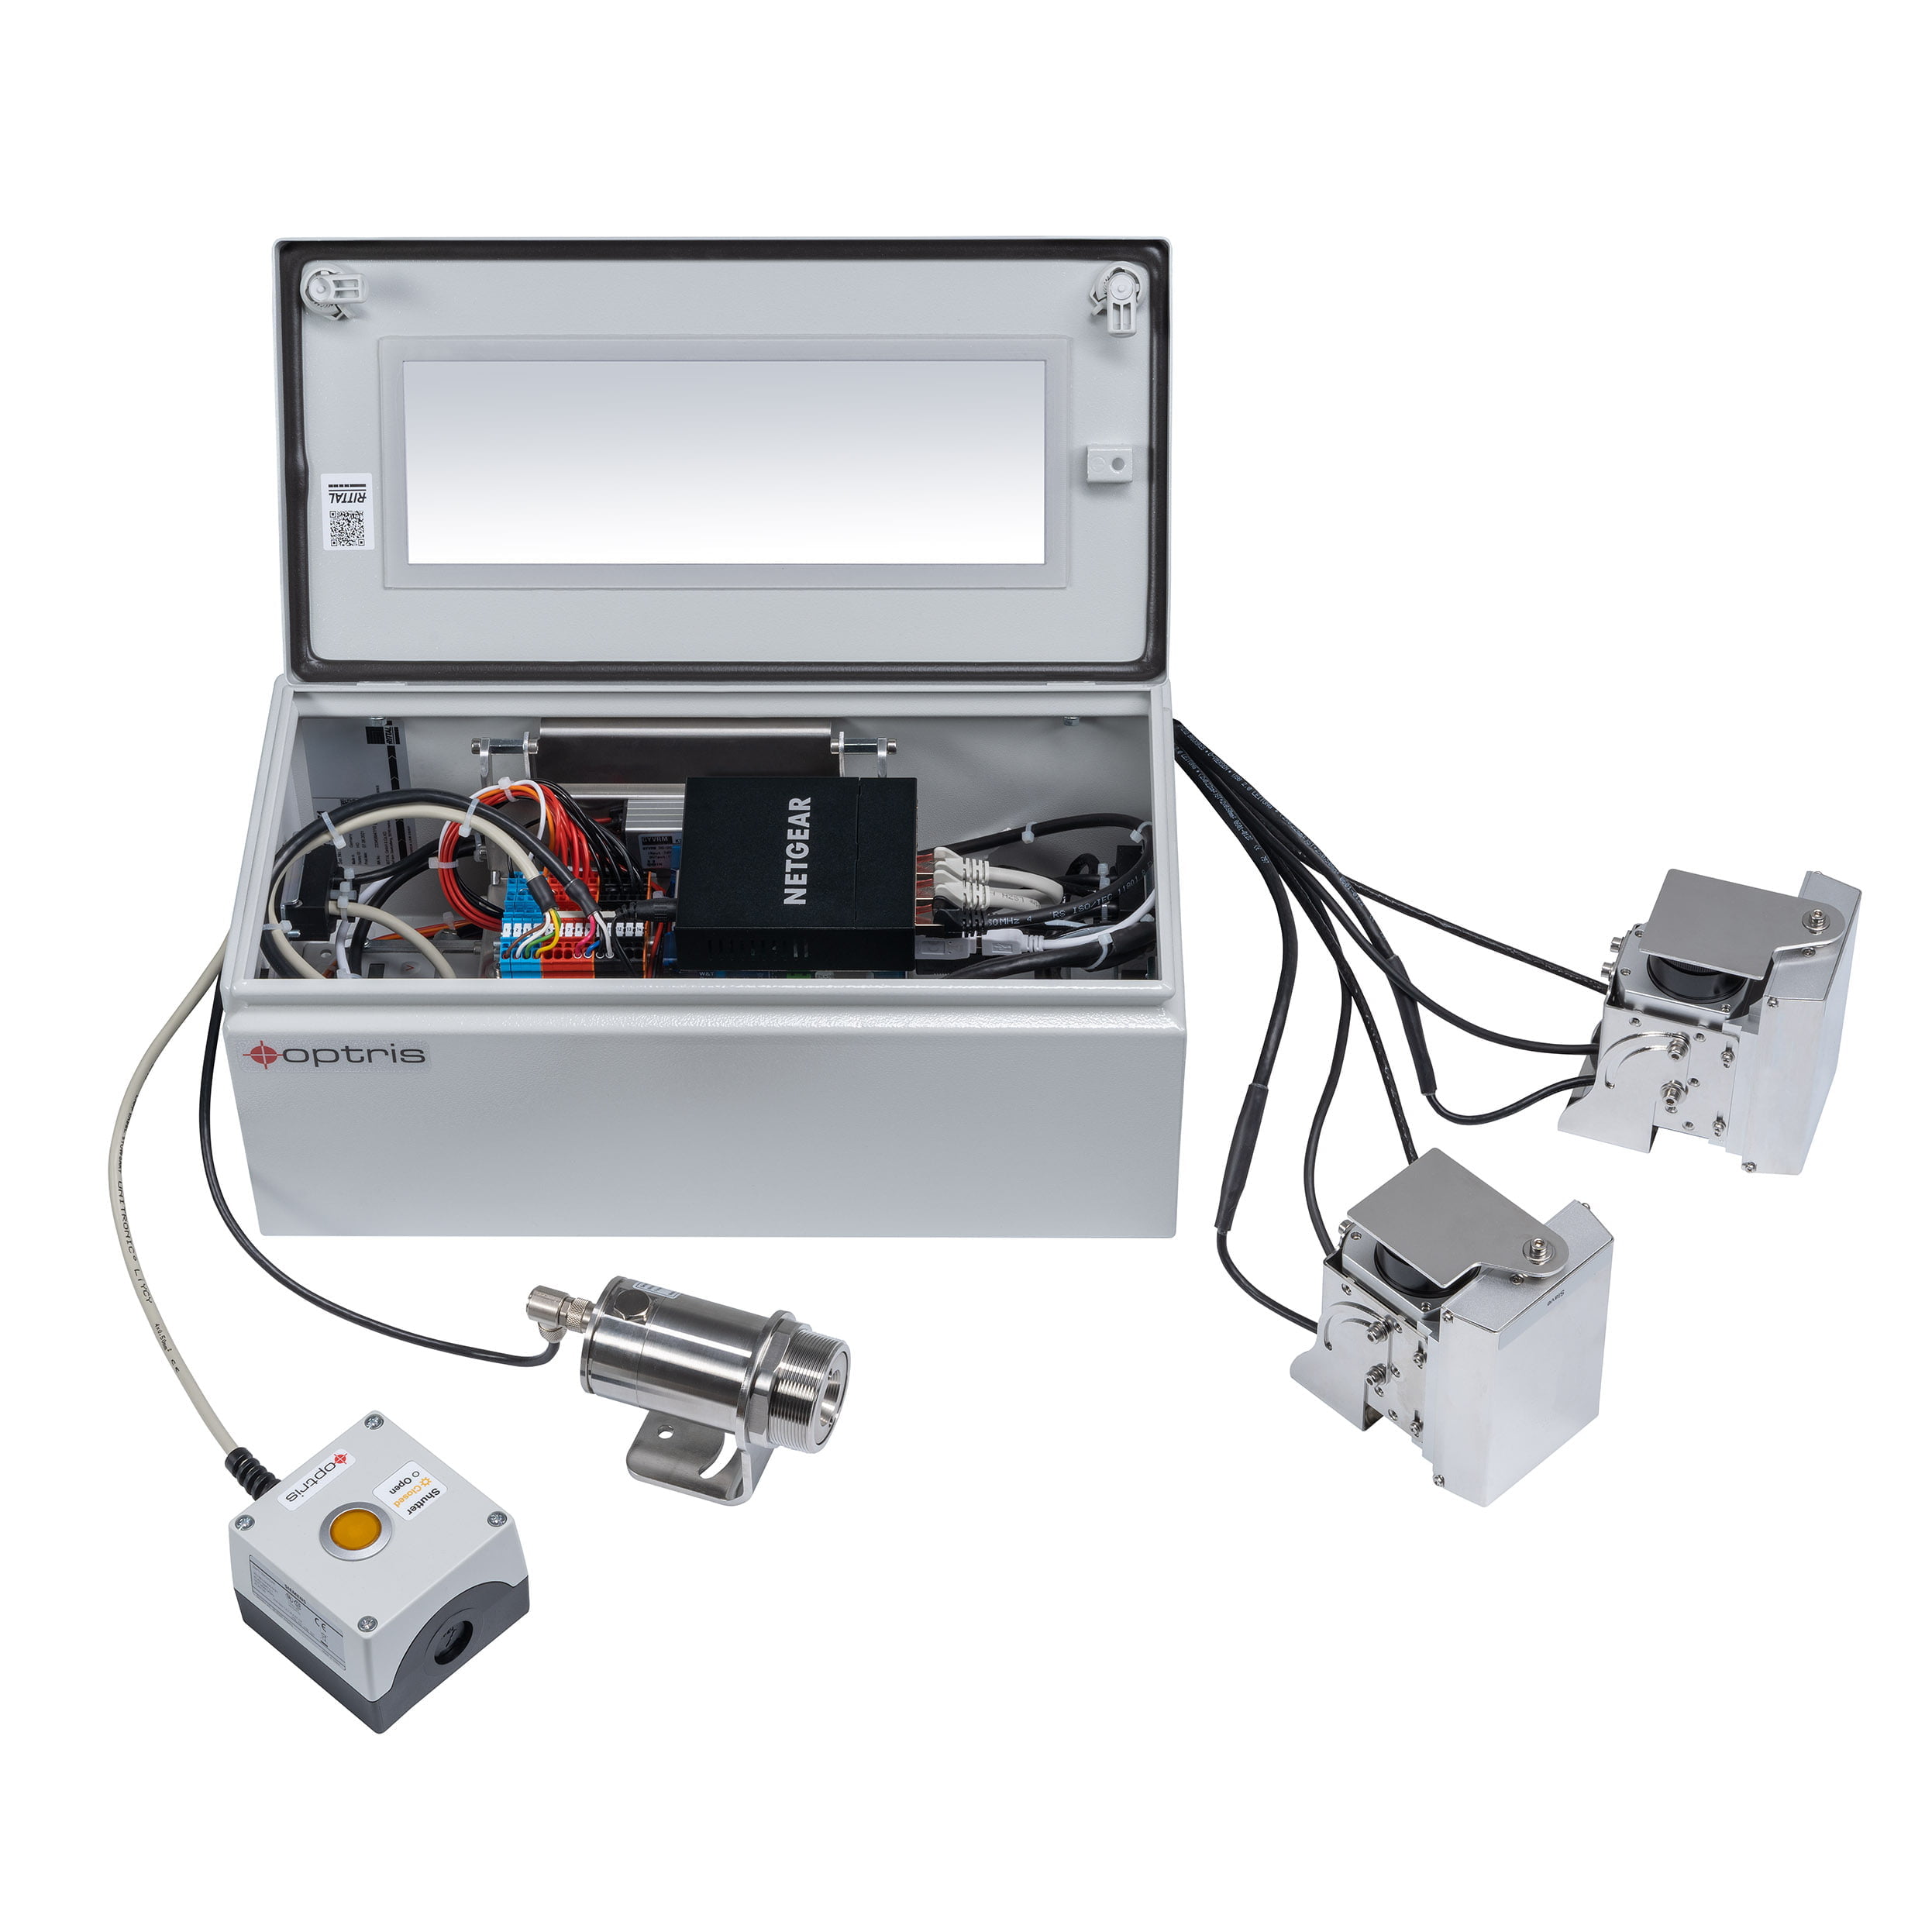
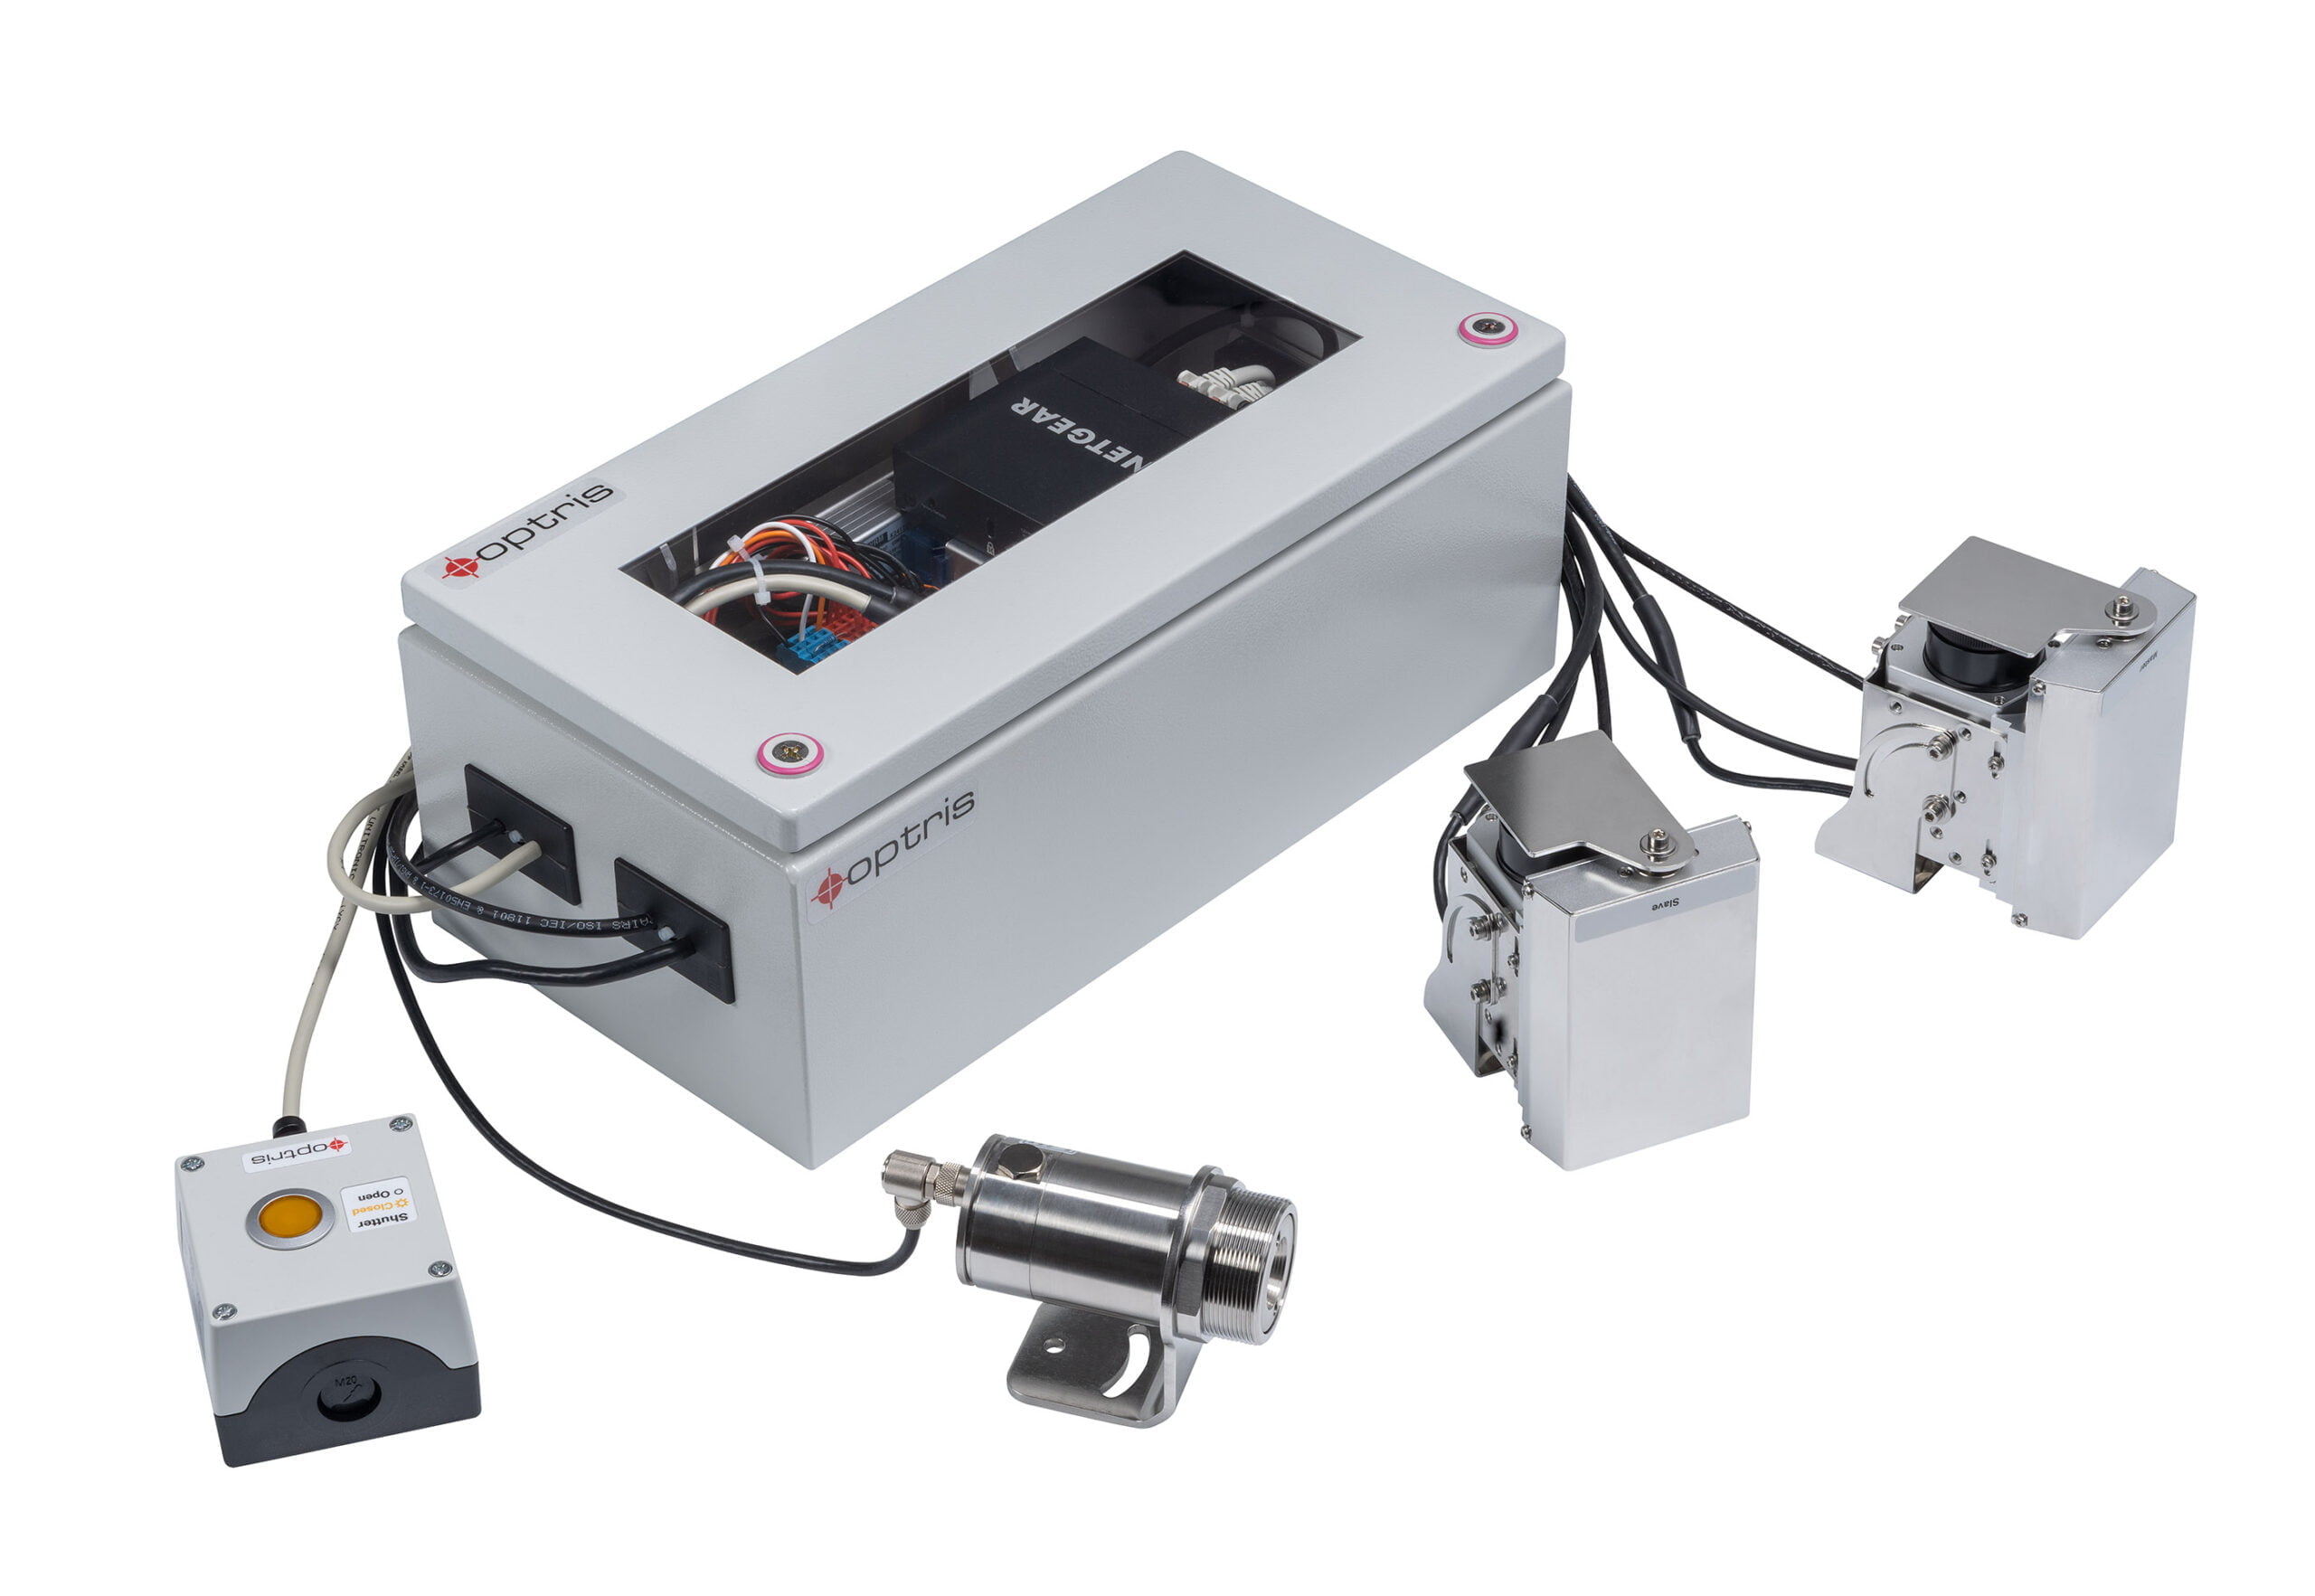
Scope of Supply: Bottom up Glass Inspection System

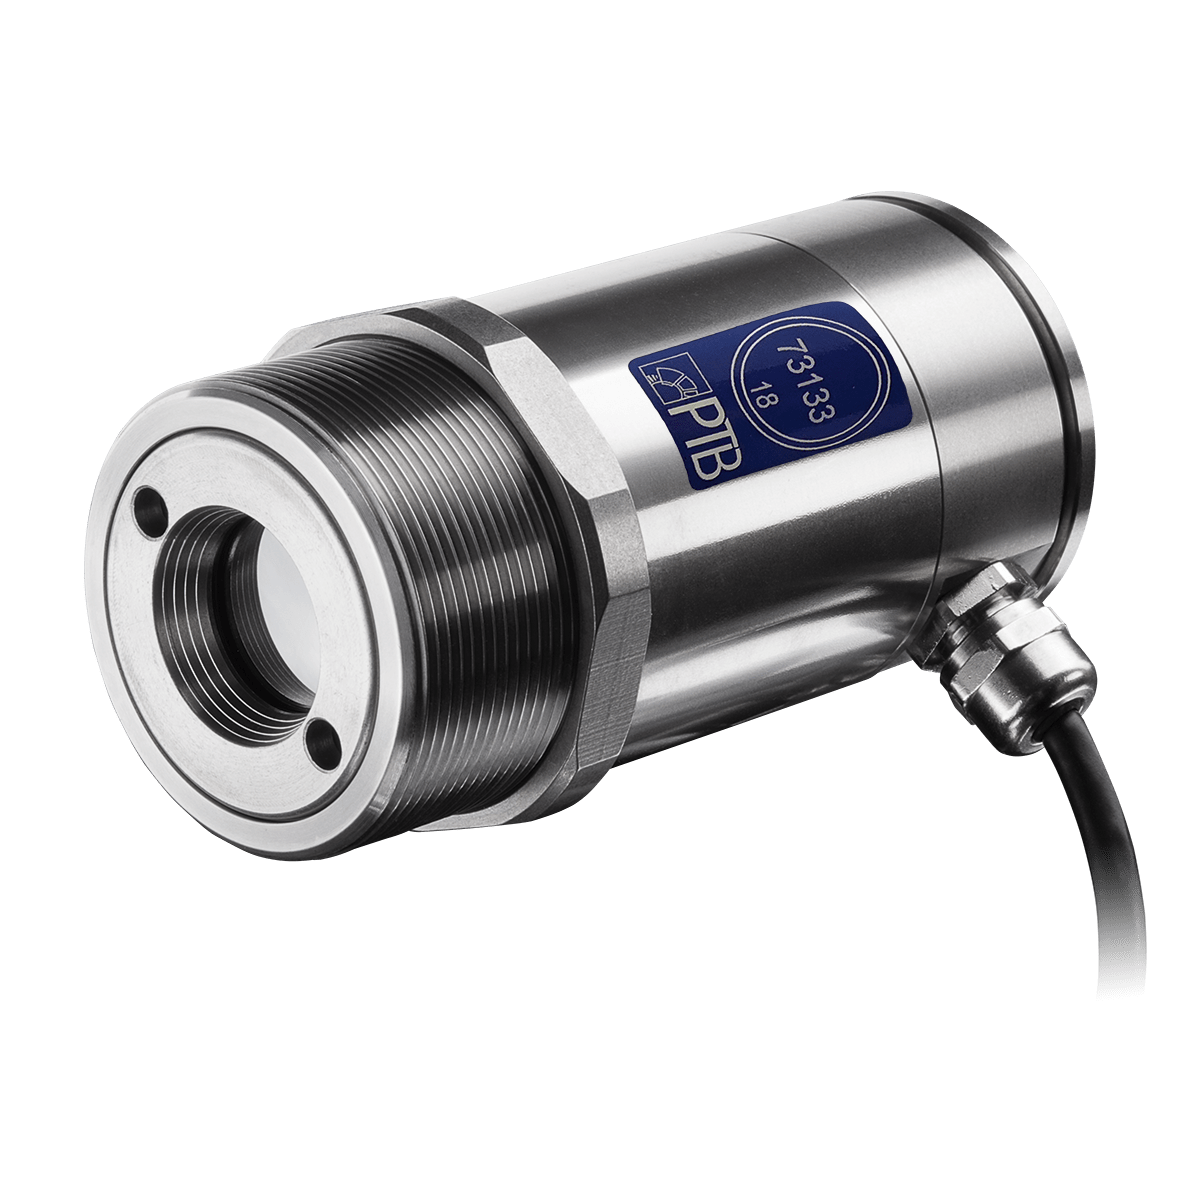
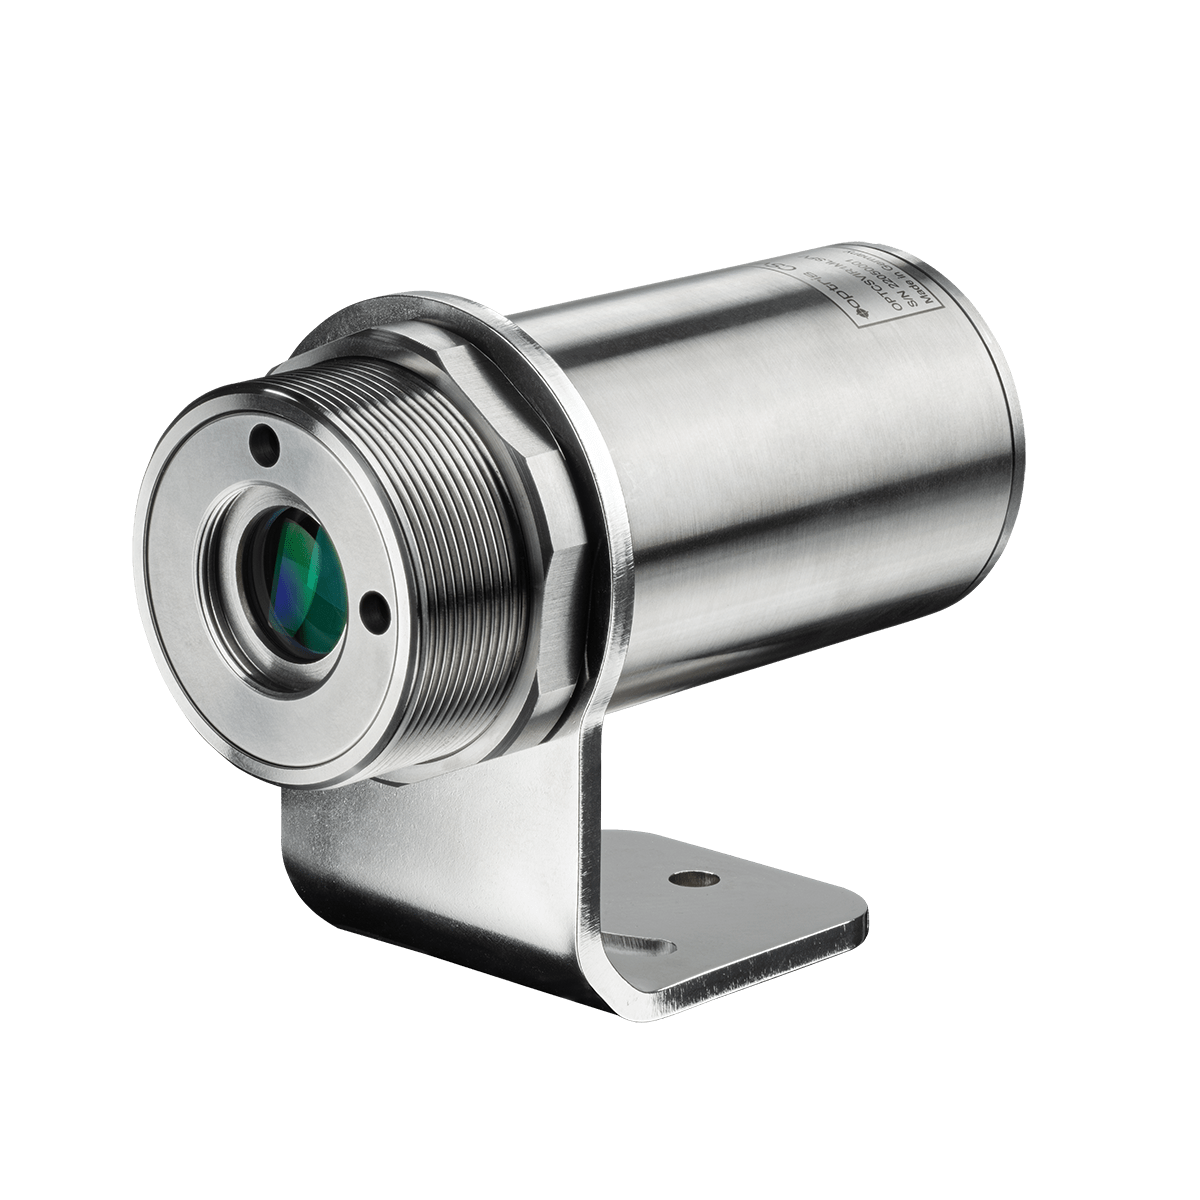
• Either PI 640i G7 imager  with 90° or 60° FOV imager or PI 450i G7 imager with 80° or 53° FOV
• 2x Industrial Process Interface
• CTlaser 4ML glass breakage sensor with USB interface
• 2x DCLP Shutter system with mounting brackets for imagers
• 2x USB Server Gigabit
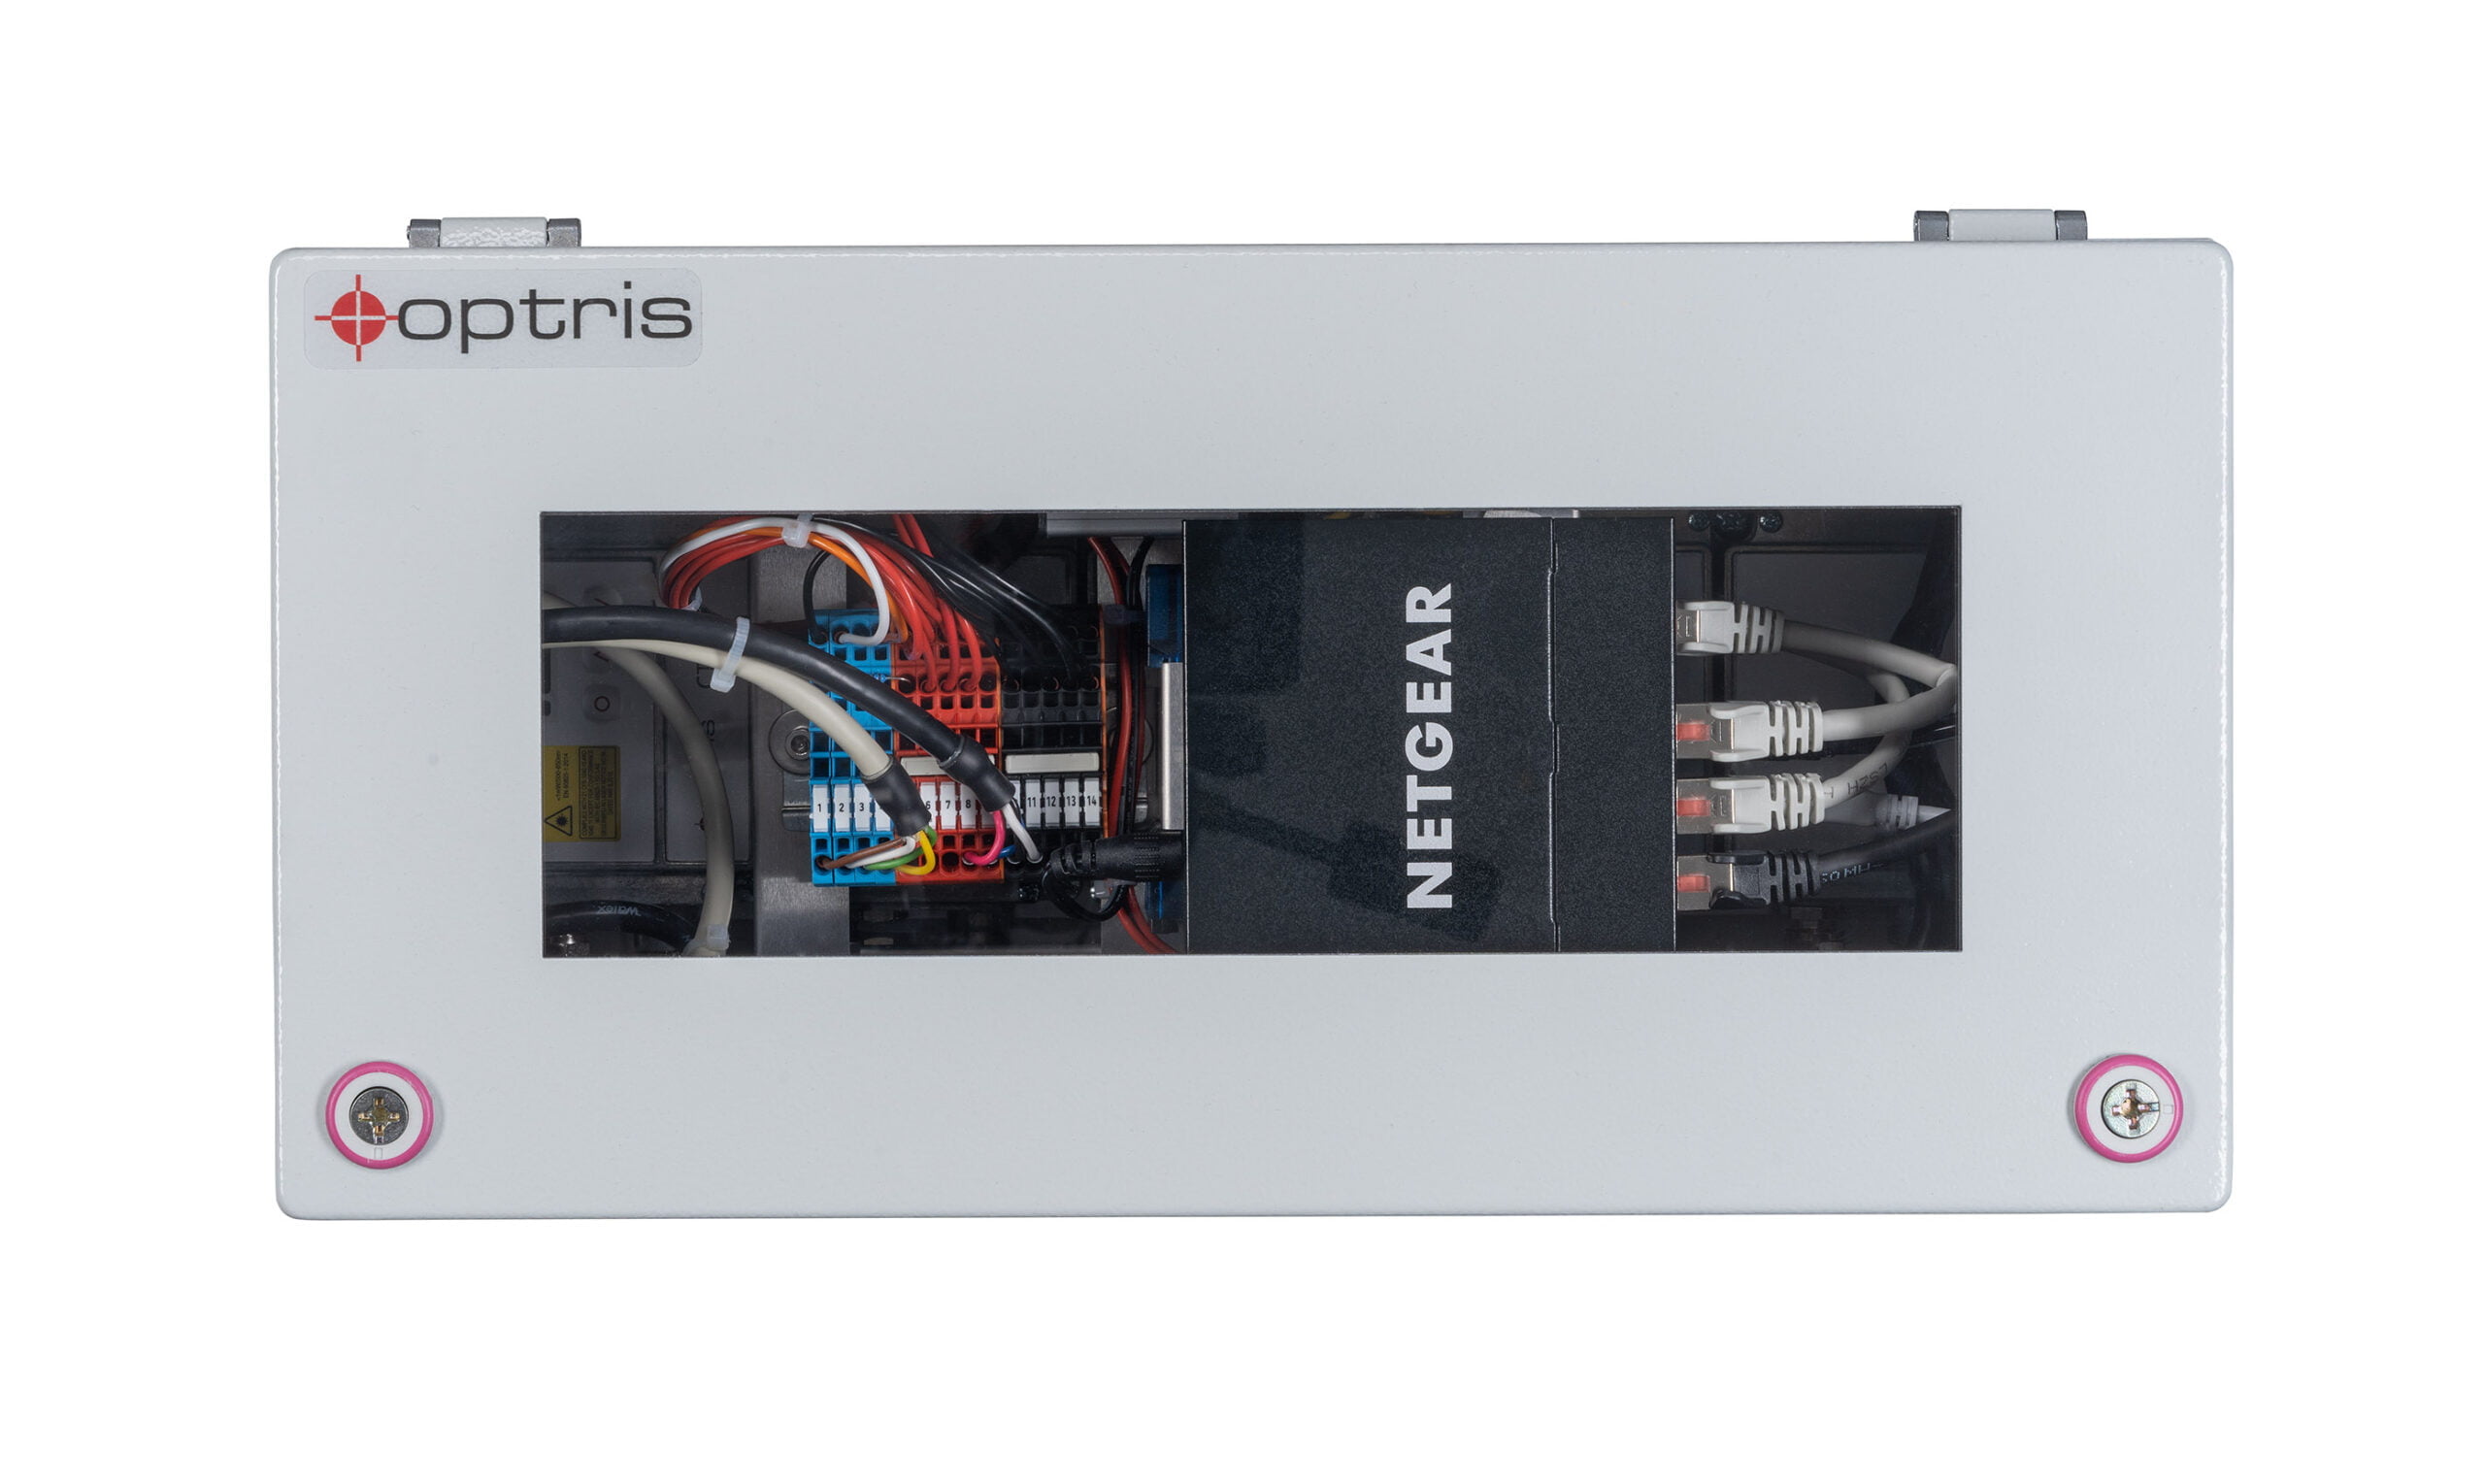
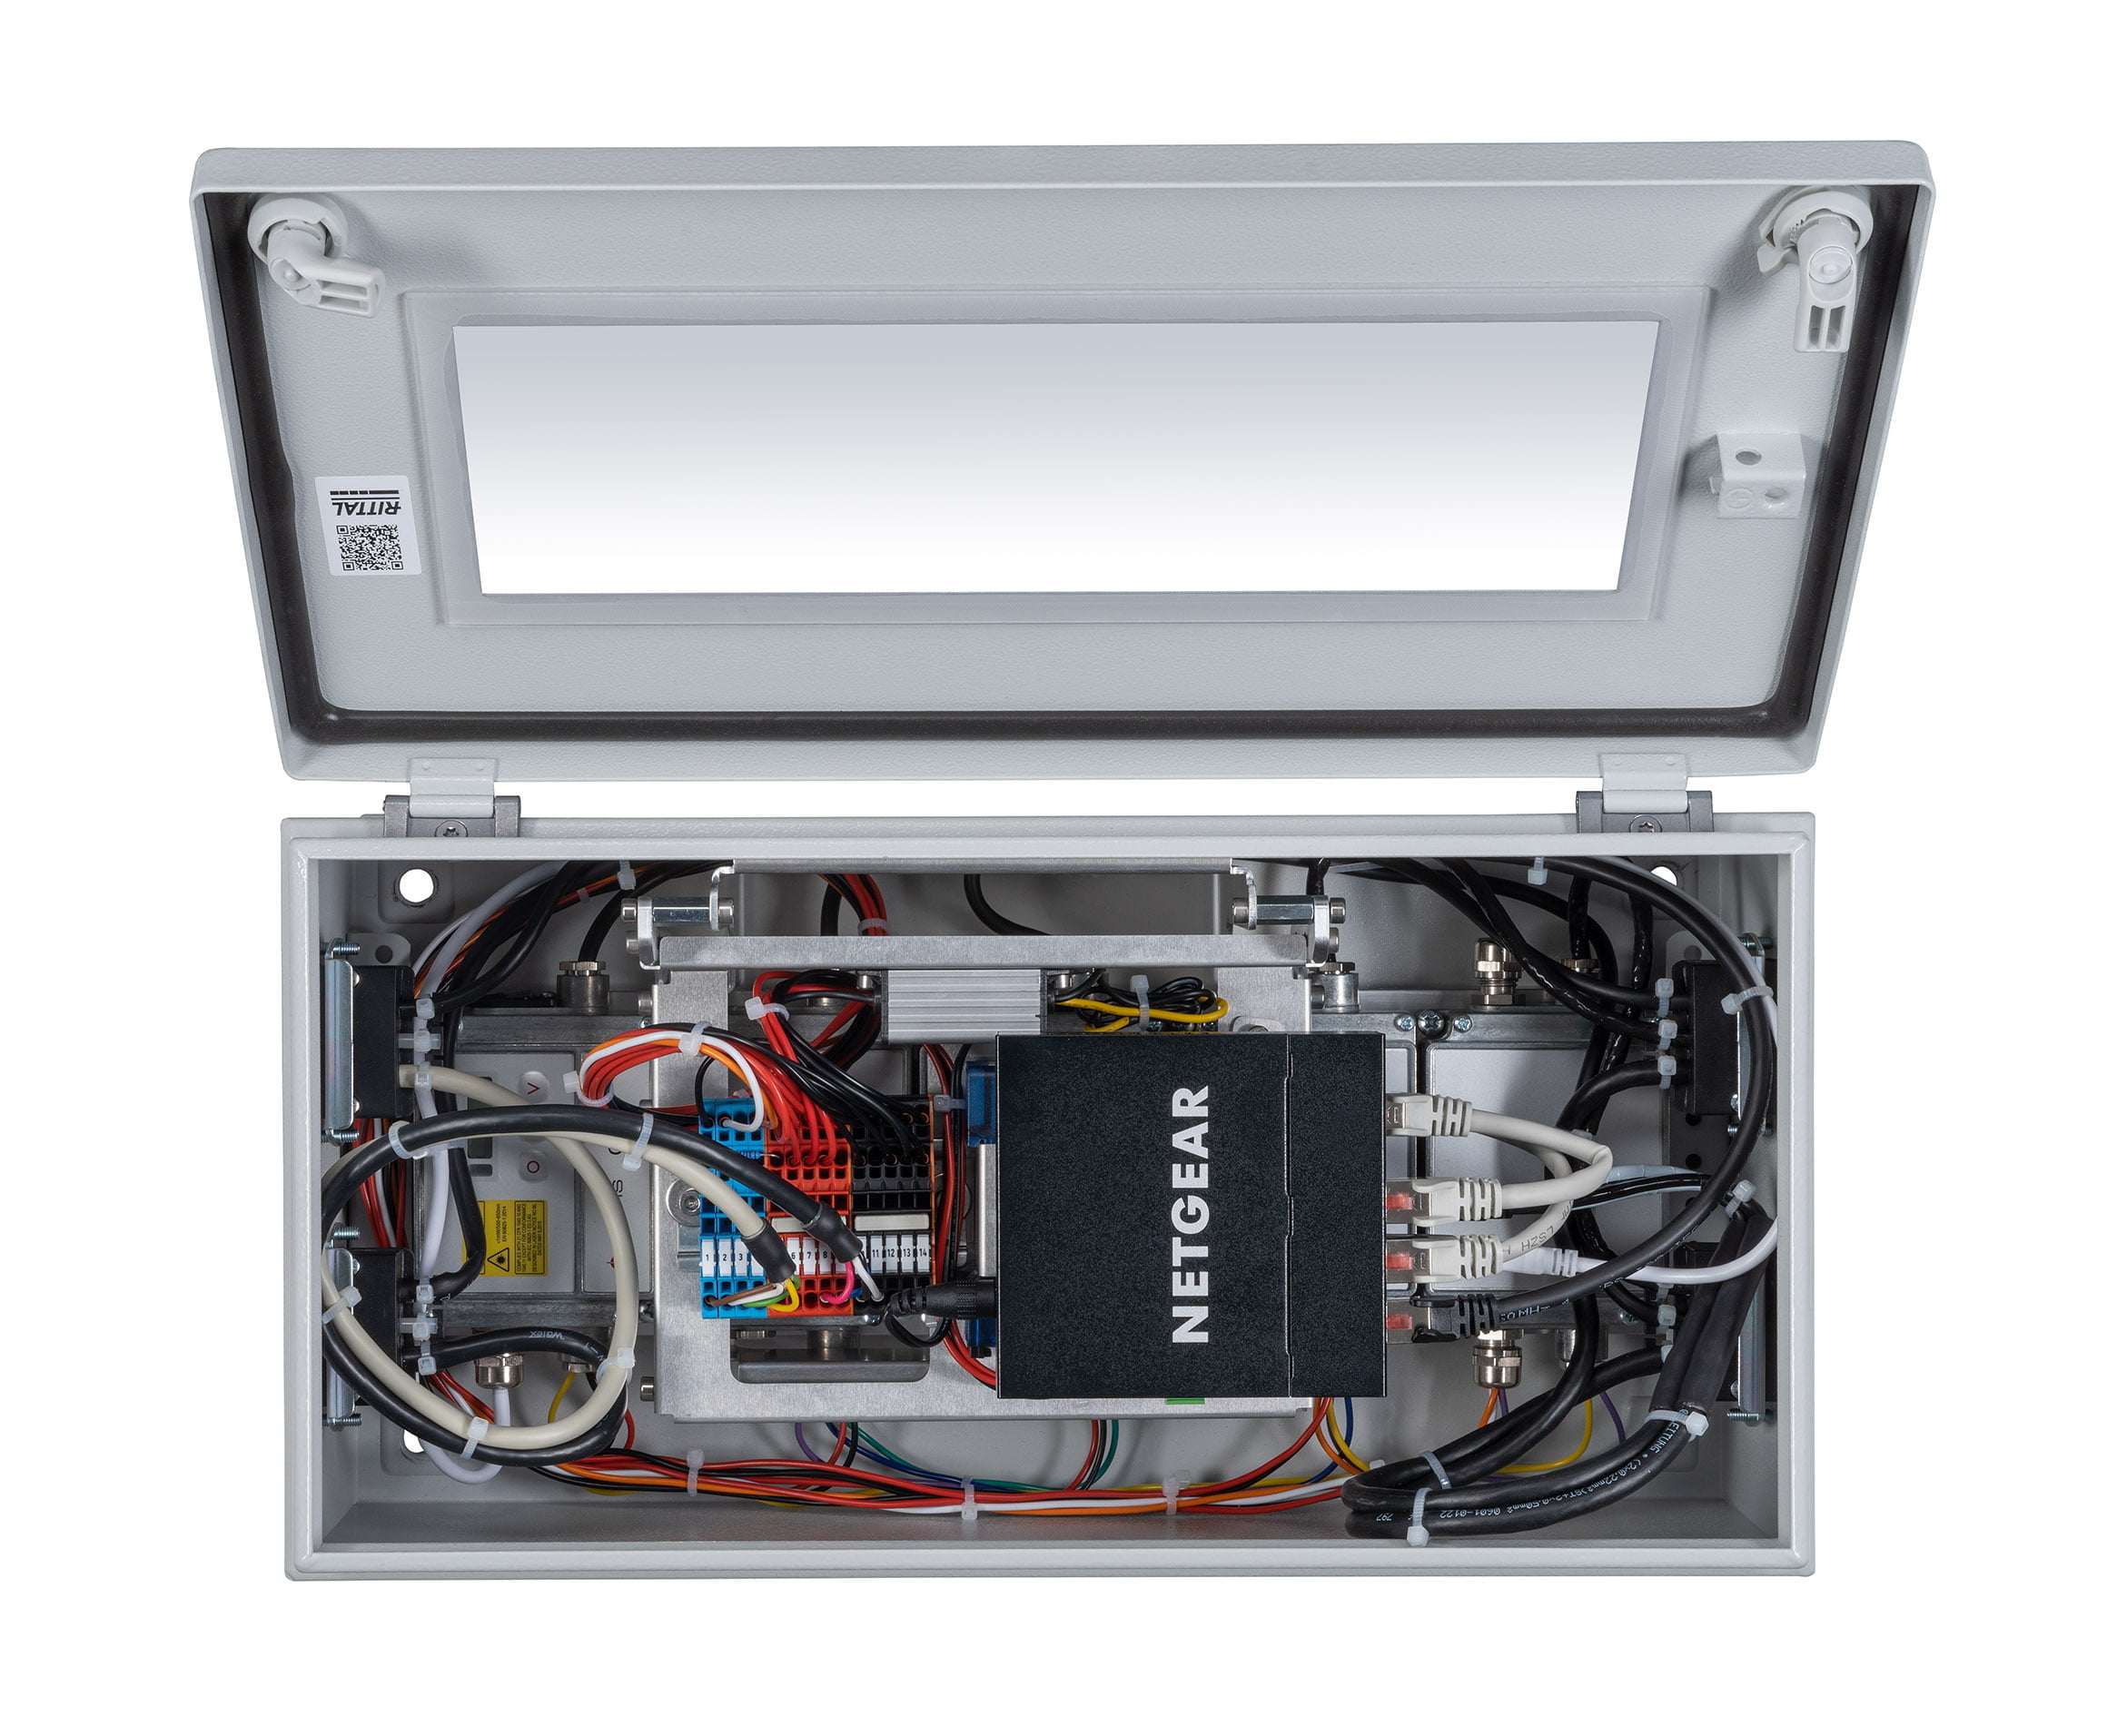
• Control cabinet with cable set (10 m each) and remote control box
• Software package
• 100-230 V AC/ 24 V DC power supply for initial start-up

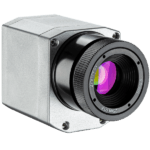
Technical Details: optris PI 450i G7 / 640i G7

  • Scope of supply:
    USB camera incl. 1 lens,
    USB cable (1 m),
    table tripod,
    PIF cable incl. terminal block (1 m),
    software package optris PIX Connect,
    Rugged outdoor transport case (IP67)
  • Detector: (FPA, uncooled)
    PI 450i G7: 17 µm x 17 µm
    PI 640i G7: 17 μm x 17 μm
  • Optical resolution:
    PI 450i G7: 382 x 288 pixels
    PI 640i G7: 640 x 480 pixels
  • Spectral range: 7.9 µm
  • Measurement ranges:
    150 °C to 900 °C
    200 °C to 1,500 °C
  • Sighting range: 0 °C to 250 °C
  • Frame rate:
    PI 450i G7: 80 Hz/ switchable to 27 Hz
    PI 640i G7: 32 Hz / 125 Hz @ 640 x 120 pixels
  • Optics (FOV) PI 450i G7:
    53° x 38° FOV / f = 7,7 mm or
    80° x 54° FOV / f = 5,7 mm
  • Optics (FOV) PI 640i G7:
    60° x 45° FOV / f = 10.5 mm or
    90° x 64° FOV / f = 7.7 mm
  • PI 450i G7: Thermal sensitivity (NETD) at Tobj= 650 °C: 150 mK
    PI 640i G7: Thermal sensitivity (NETD) at Tobj= 650 °C: 80 mK
  • System accuracy (at ambient temperature 23 ± 5°C): ±2 °C or ±2 %
  • PC interface: USB 2.0
  • Process interface (PIF):
    Standard PIF: 0-10 V input, digital input (max. 24V), 0-10 V output
    Industrial PIF: 2x 0-10 V inputs, digital input (max. 24 V), 3x 0-10V outputs, 3x relay (0-30 V/ 400 mA), fail-safe relay
  • Ambient temperature (TAmb):
    PI 450i G7: 0 °C…70 °C
    PI 640i G7: 0 °C…50 °C
  • Storage temperature:
    PI 450i G7: -40 °C…85 °C
    PI 640i G7: -40 °C…85 °C
  • Relative humidity: 10 – 95 %, non-condensing
  • Enclosure (size / rating):
    PI 450i G7:  46 mm x 56 mm x 68 – 77 mm (depending on lens + focus position) / IP 67 (NEMA 4)
    PI 640i G7:  46 mm x 56 mm x 76 – 100 mm (depending on lens + focus position) / IP 67 (NEMA 4)
  • Weight:
    PI 450i G7: 237 – 251 g (depending on lens)
    PI 640i G7: 269 – 340 g (depending on lens)
  • Shock / vibration:
    PI 450i G7: 25G und 50G, IEC 68-2-27 / IEC 68-2-6 (sinus shaped), IEC 68-2-64 (broadband noise)
    PI 640i G7: 25G und 50G, IEC 68-2-27 / IEC 68-2-6 (sinus shaped), IEC 68-2-64 (broadband noise)
  • Tripod mount: 1/4-20 UNC
  • Power supply: USB powered

Technical Details: optris CTlaser 4M

  • Temperature range1) (scalable via software):’
    0°C … 500°C (4ML)
  • Spectral range: 2.2 – 6 μm
  • Optical resolution (90% energy):
    30:1 (4ML)
  • System accuracy2) (at Tamb= 23 ± 5°C): ± (0.3% of reading + 2°C)
  • Repeatability (at Tamb = 23 ± 5°C): ± (0.1% of reading + 1°C)
  • NETD: 120 mK
  • Exposure time (90% signal)3): 90 μs
  • Emissivity / Gain (adjustable via programming keys or software): 0.100 – 1.100
  • Transmissivity / Gain (adjustable via programming keys or software): 0.100 – 1.100
  • Signal processing (parameter adjustable via programming keys or software, respectively):
    peak hold, valley hold, average, extended hold function with threshold and hysteresis
  • Environmental rating: IP 65 (NEMA-4)
  • Ambient temperature:
    sensing head: -20°C … 70°C (sensing head, 50°C with laser ON)
    electronics: -20°C … 70°C (electronics)
  • Storage temperature:
    sensing head: -40°C … 85°C (sensing head)
    electronics: -40°C … 85°C (electronics)
  • Relative humidity: 10 – 95%, non condensing
  • Vibration: IEC 60068-2-6 (sinus shaped), IEC 60068-2-64 (broadband noise)
  • Shock: IEC 60068-2-27 (25G and 50G)
  • Weight:
    sensing head: 600 g
    electronics: 420 g
  • Outputs / analog: 0/4 – 20 mA, 0-5/10 V, thermocouple K, alarm
  • Output / alarm: 24 V / 50 mA (open collector)
  • Relay (optional): 2 x 60 V DC/42 V ACeff; 0.4 A; optically isolated
  • Outputs/ digital (optional):
    built-in USB-interface
    Optional: RS232, RS485, Ethernet
  • Output impedances:
    mA max. 500 Ω (with 5 – 36 V DC)
    mV min. 100 kΩ load impedance
    thermocouple 20 Ω
  • I/O Pins (3x): flexible programming as in- or output: external emissivity adjustment, ambient temperature
    compensation, uncommitted value, trigger (reset of hold functions), alarm output (open collector 24 V/50 mA)
  • Cable length: 3 m (standard), 8 m, 15 m
  • Power supply: 8-36 V DC
  • Current draw: max. 160 mA
  • Laser 635 nm: 1mW, ON/OFF via electronic box or software


Areas of application for the Bottom up glass inspection system

The Bottom up glass inspection system solves the problems with temperature measurement of Low-E glass with a new approach. By having two infrared imagers installed underneath the tempering line they always measure the temperature on the non-coated high emissivity side of the glass. IR technology development resulting in those new compact designed imagers made this underneath installation possible which was not thinkable before with old bulky line scanners.

The combination of two VGA imagers with a maximum field of view of 111° results in an excellent 1600 pixels scan line resolution on maximum 4,3 m scan width.

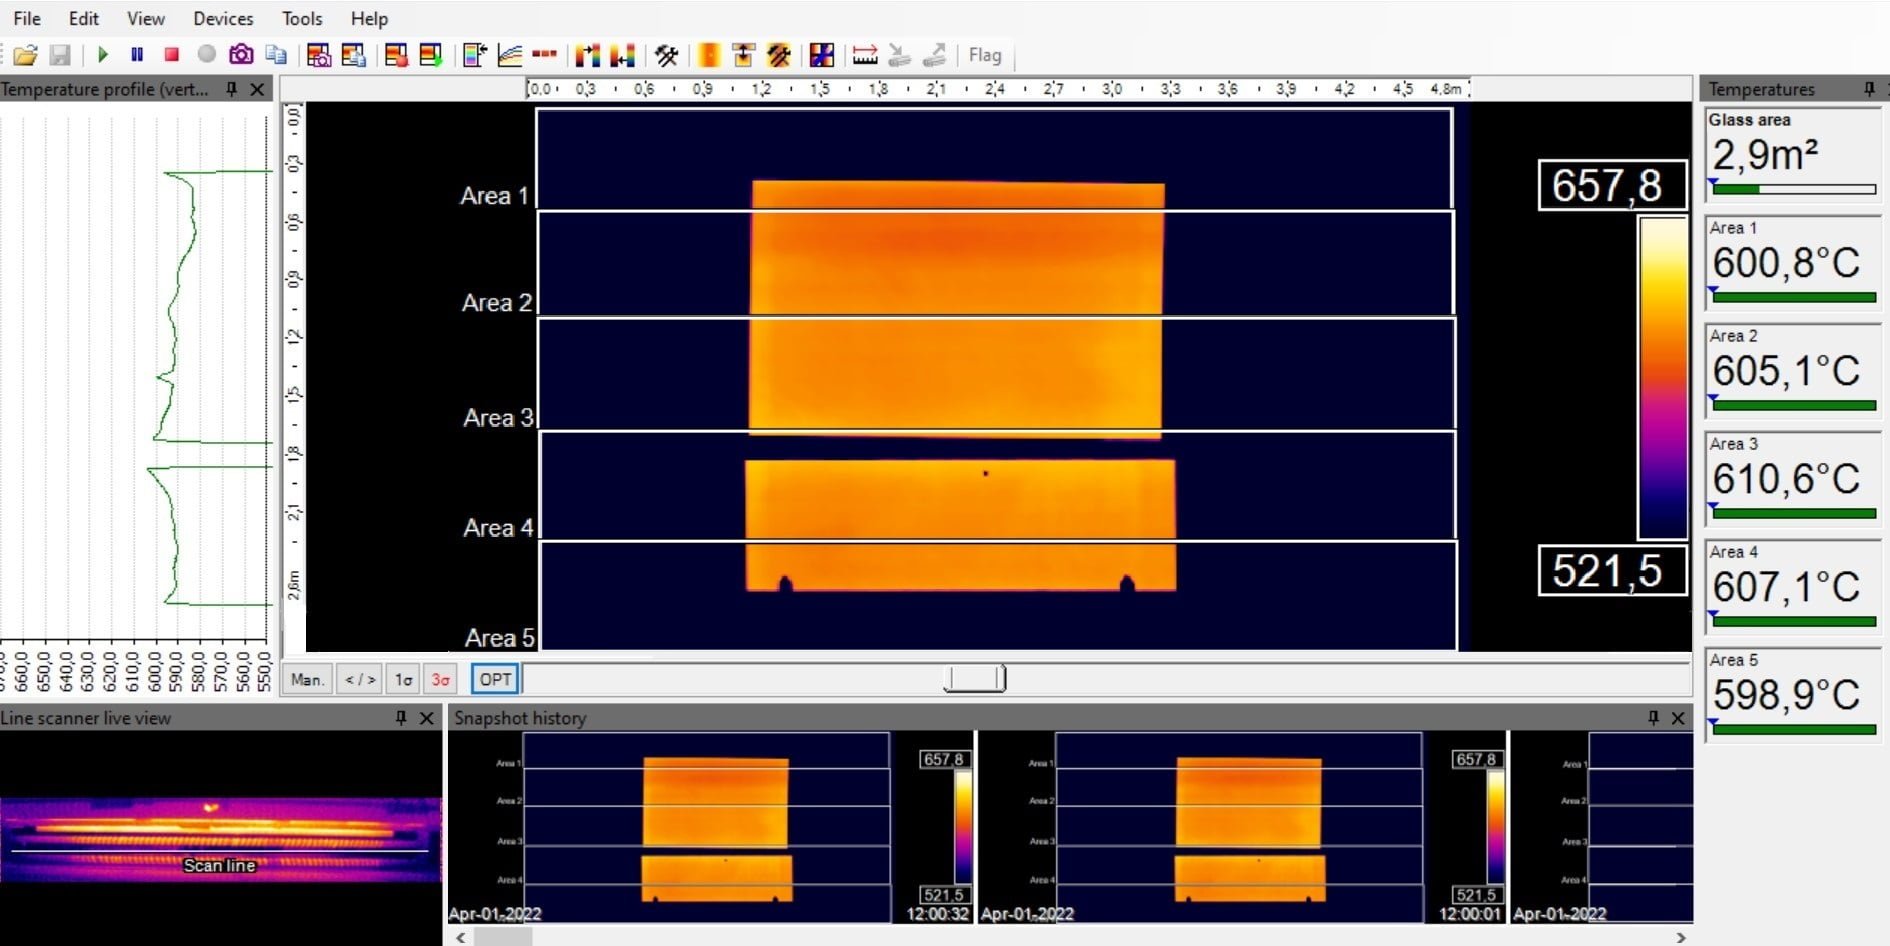
In addition to determining the temperature distribution, the system also calculates the glass surface area.

An ultra-fast CTlaser 4M pyrometer with 90 µs exposure time combined with the digitally controlled lens protection system (DCLP) is a reliable safeguard for both infrared cameras in case of glass breakage. These shutters also significantly increase the maintenance intervals for cleaning the optics and completely eliminate the need for additional and time-consuming blowing of the optics with compressed air.

Thermography Software optris PIX Connect included

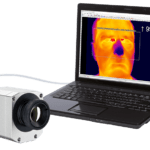
All IR cameras are delivered with the thermography software optris PIX Connect, which has been developed specifically for the extensive documentation and analysis of thermal images. It allows you to analyse temperature data in real time as well as the remote control of your infrared camera. Furthermore, you can setup individual alarm levels for your process and define visual or acustic alarm signals.

Our thermography software is licence free and can easily be adjusted to your requirements.

All optris infrared cameras are compatible with the Data Aquisition (DAQ) Software Dewesoft X by

Accessories