Non-contact temperature measuring technology optimizes the quality of flat glass processing
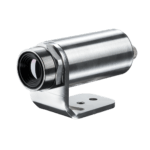
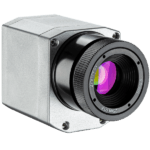
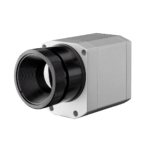
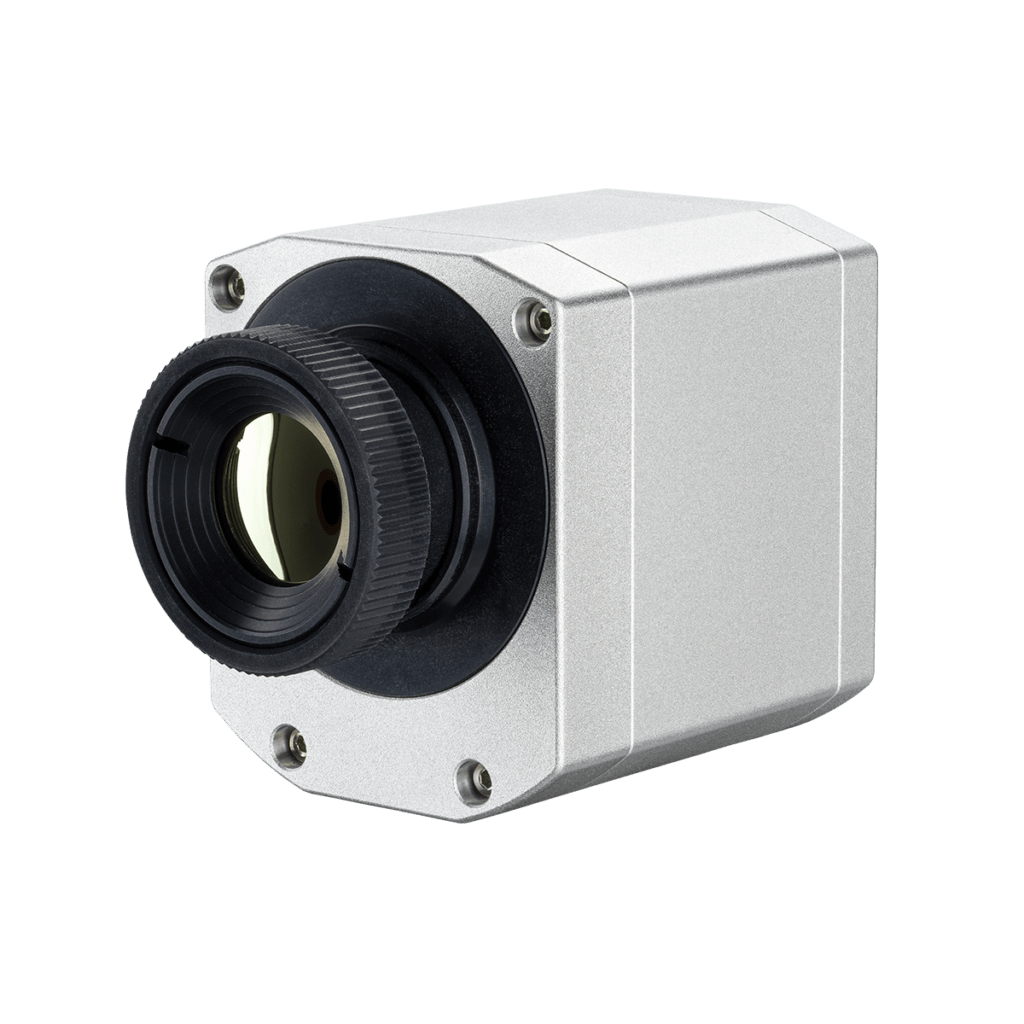
When measuring the temperature of glass using infrared devices such as thermal imaging cameras and pyrometers, it must be observed that both transmission and reflection have a huge impact (see IR basics brochure) . Depending on the wavelength selected for the sensor, it is possible to measure the temperature on, within or through a glass pane. As a supplement to its IR thermometers, Optris GmbH has launched a “glass camera” right in time for the glasstec 2014. The new product with a 7.9 µm filter, which is especially designed for applications in the glass industry, is called optris PI 450 G7.
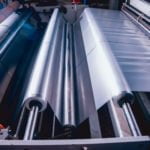
Temperature is a critical variable in glass processing, meaning that specific and homogeneous temperatures must be maintained during the production of LSG in the laminating room, in the lamination furnace and finally in the autoclave, in order to achieve a high-quality pane. However, for LSG it is not primarily the temperature of the pane, but rather the temperature of the inside film which is of particular importance. Whereas the laminating process, during which the film is inserted between the two flat glass panes, is performed in a climate-controlled cleanroom, the subsequent processes are conducted in far hotter and more critical environments. Because the current state of the art does not permit a temperature inspection in autoclaves, i.e. the last process step in the production of the LSG panel, by means of non-contact IR measuring technology, the focus is placed on taking measurements inside the pre-lamination furnace
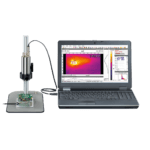
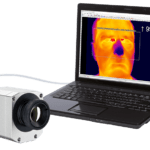
In the pre-lamination furnace, IR heating elements heat up the film between the glass panes to make it adhesive. In order to ensure that most of the dissipated energy only goes into the film and not into the panes, the “glass-film-glass sandwich” is irradiated with a wavelength of between 1.5 µm and 3 µm, i.e. the absorption wavelength of the film. The optimum temperature to be achieved is dependent on three factors: the quality of the film, the thickness of the film and the thickness of the glass. The glass is measured directly after the pre-laminate is removed from the furnace in order for the temperature of the film to be ascertained. Temperature deviations within the glass result in a fully automatic adaptation of the IR heating elements via the process control system. Line scanners provide a useful option for this purpose. A line scanner records the temperature profile across the entire cross-surface and plots it onto a false color image as a function of time. Two systems are currently available on the market: On the one hand, line scanners with an integrated infrared thermometer, which record the individual measuring points via a rotating mirror. Alternatively, a thermal imaging camera can be used. Here, a line is selected and plotted onto a false color image as a function of time. The advantage of using a thermal imaging camera as a line scanner lies both in its higher process stability and in substantially lower procurement costs. In contrast to traditional line scanners, most mechanical moving parts are obsolete as no rotating mirror is required. A further advantage of the infrared camera lies in the simultaneous recording of all image points in every image line. Because thermal imaging cameras are used in large quantities for industrial applications, they can be produced inexpensively to the highest technological standards by using state-of-the-art systems. When using such a camera, cost advantages of up to €10,000 – depending on the Optris model used – can be achieved in comparison to similar pyrometer scanners. The software supplied with the camera models is highly flexible and easy to adapt to individual requirements.
Further applications
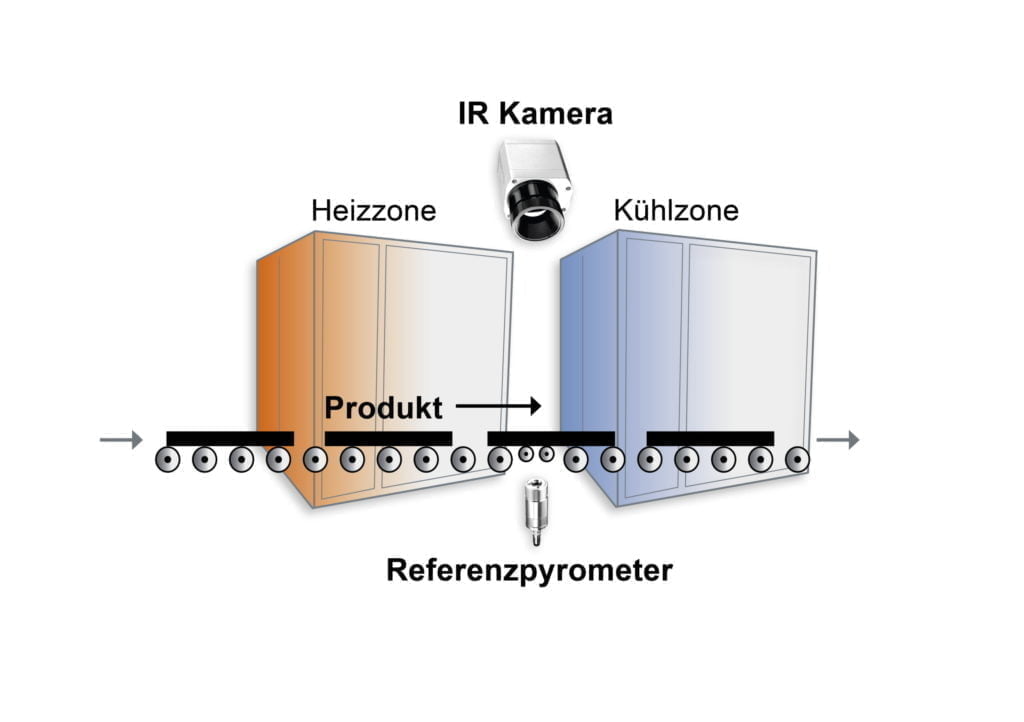
Heating and cooling area at the production of SPSG with temperature measurement technology
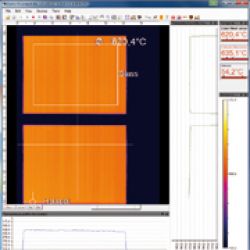
Lorem ipsum dolor sit amet, During the production of SPSG, line scanning technology is just as important and applicable. The float glass is heated to a temperature of over 600 °C in a heating zone, using infrared heating elements, so that it can then be subjected to a so-called thermal shock in a cooling zone. The aim is to generate tension in the glass which, in the long term, makes it more robust and heat-resistant. So that the thermal shock procedure functions correctly, the inspection of the glass temperature and the temperature distribution between the two zones is of critical importance for the quality of the product. If the glass does not leave the heating zone at the correct temperature, the cooling will not take effect, meaning that the processed glass is either rendered useless or must be sold off as reduced-quality goods at a lower price. If the temperature distribution is inhomogeneous, cross-tension occurs and the SPSG processed in this way becomes more prone to breakage.
Temperature management as important factor
Temperature management is a key factor when ensuring the end product quality of single-pane safety glass and laminated safety glass. The line scanning mode is frequently preferable to point measurement. Today’s state-of-the-art technology permits correctly-functioning, flexible and inexpensive solutions using infrared cameras. Due to customized accessory parts, the measuring devices can also be used in hot environments and during rapid processes.
Further support and information
Contact for Advice and Sales Worldwide
We offer comprehensive advice for your individual applications
Our experienced application engineers ensure competent and reliable customer service in the field. In addition, Optris works closely with numerous distribution partners worldwide.
International
Ferdinand-Buisson-Str. 14
13127 Berlin, Germany
Phone: +49 30 500 197-0
E-Mail: sales@optris.com
Internet: www.optris.com
Managing Director:
Dr.-Ing. Ulrich Kienitz

