Line Scan Cameras in the Glass Hardening Process
For Optimal Breaking Strength
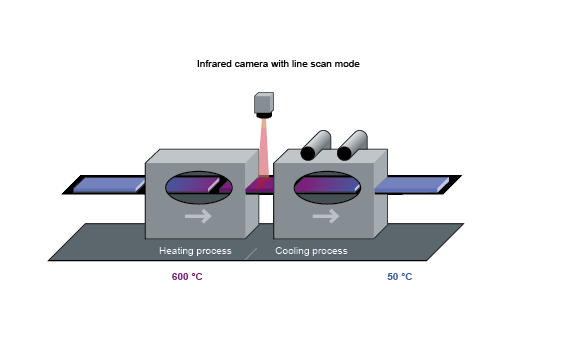
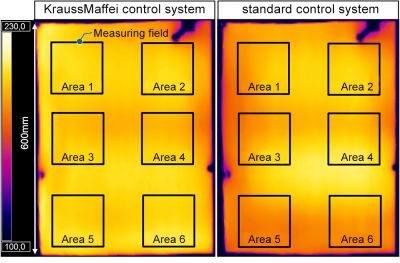
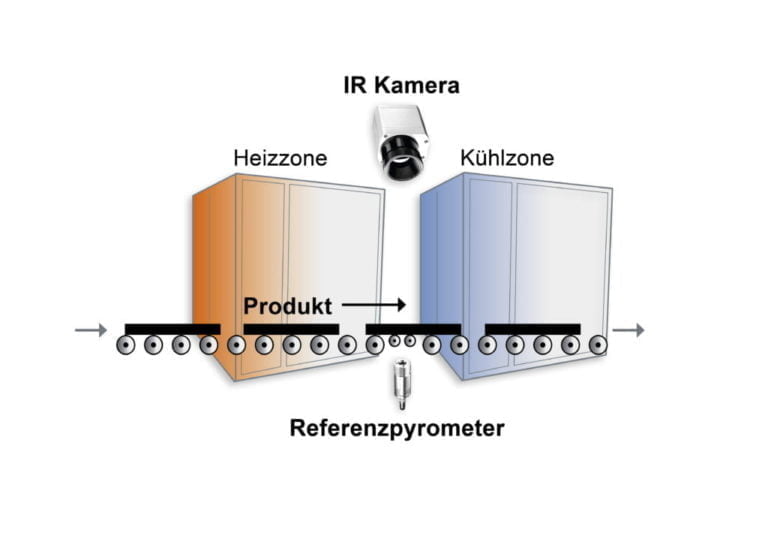
After having been cut to their final form, the glass panes’ surfaces have to bee hardened. This process takes place in hardening plants in which the cut glass pane is heatet to about 600 °C in a furnace. After being heated, the material is transportet from the heating to a cooling section via moving rollers. This creates the fine-crystalline hardened structure that is important for safety glass. This structure, and thus the breaking strength of the glass, depends on the uniform heating of all parts of the surface.
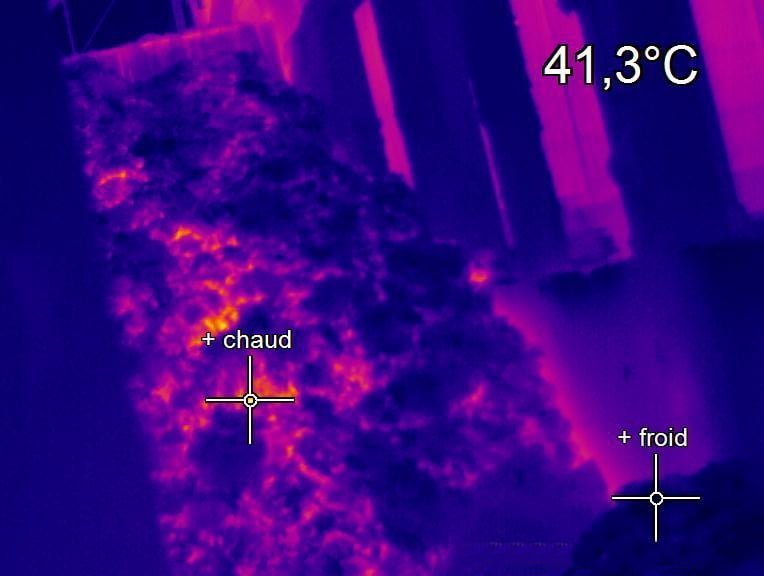
Since the furnace housing and cooling section are close together, the glass surfaces transported out of the furnace can only be observed through a narrow gap. In the thermal image, the material therefore only appears in a few lines. The software now permits a special display in which the image of the glass surfaces is generated from lines or line groups.
The camera measures the slit diagonally, resulting in a field of view of 60° for a 48° lens. Since glass can have different emissivities depending on the surface coating, an IR thermometer on the uncoated underside measures the exact surface temperature at the optimum wavelength of 5 µm for glass surfaces.
